
Linking a Prim
In the last section, you started to put together a more complex object using at least a few prims. You may have wished to “glue†it together somehow and keep it. But how? That is what you will tackle in this section!
Linking is the process of attaching prims together so they can be moved as one object. In this section you will learn how to link and unlink prims. You will also learn how to edit a prim, even when it’s linked to another prim. Finally, you will learn about root prims and why they are important.
Step 1: Linking two prims
Rez two prims close to each other. Right-click (Cmd-click) on one of the prims to select it and choose Edit mode. Holding down the Shift Key, click on the other prim. You will notice that they are now both highlighted in yellow. Now hit Ctrl-L to link them both and you will see that moving one prim moves them both together, and one prim is highlighted in yellow, the other in blue.
Â
Â
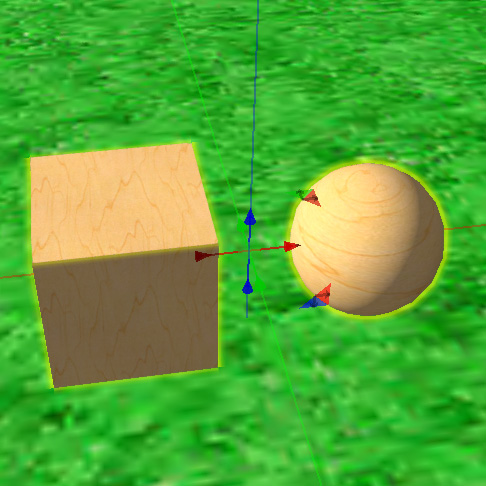 Â Â
  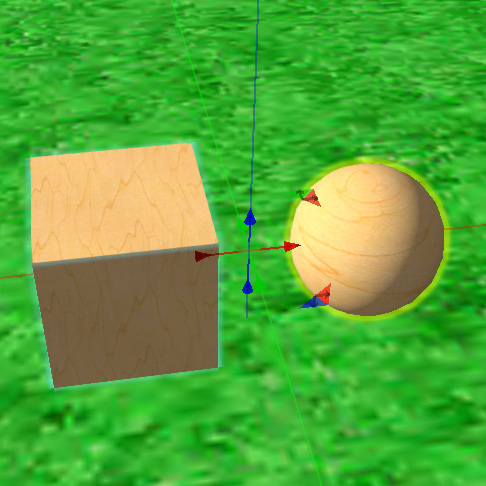
Move and rotate them around. Note: If prims are too far apart, you will get a message saying they cannot
be linked. The smaller the prim, the closer it must be to another prim to be linked.
Step 2: Unlinking a group of prims
To unlink a group of prims, Right-click on them and hit Ctrl-Shift-L.
 Â
Unlink the two prims you just linked.
Step 3: Linking more than two prims
If you are working with many prims, you can Right-click (Cmd-click) on the first one, press the shift key down and carefully shift-click on each other prim. When you are certain you have selected all of them, hit Ctrl L to link all the prims together.
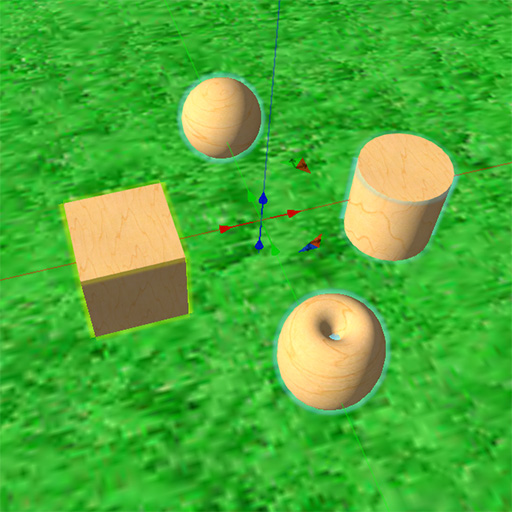
Rez at least three or four prims and link them all. Check to see if they are linked by moving them as a group. If one gets “left behind”, you can select the group of prims and then shift+click on the ungrouped prim and link it as well.
Step 4: Editing just one prim
To change or delete just one prim in a group, select Edit Linked Parts from the Edit window. Then, click on the prim you want to edit.
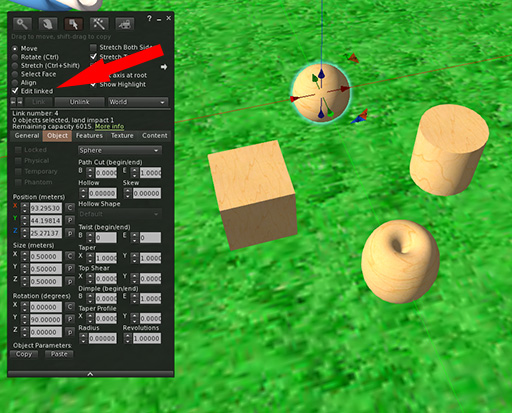
Use the Edit Linked Parts button to edit just one prim. Try adjusting the position, resizing or rotating it.
Step 5: Unlinking just one prim
To unlink a single prim, make sure Edit Linked Parts is selected in the Edit Window. Click on the prim you want to unlink. Then hit Ctrl-shift-L to unlink. Now, you can delete that prim without it affecting the other linked prims.
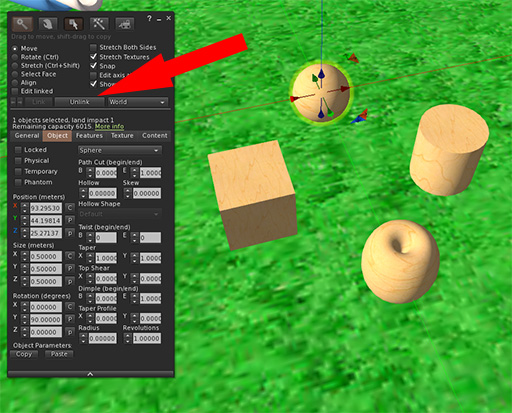
Select, unlink and delete just one prim in a linked group. Make sure you can do this without unlinking all the other prims!
Step 6: About Root Prims
A root prim is the last prim you select when linking a group of prims and has some special qualities you will want to be aware of:
- The position of a group of linked prims is based on the location of the root prim.
- The name of a group of prims is based on the name of the root prim.
- Some scripts will act on the root prim in a special way.
To find the root prim of a linked object, Right-click (Cmd-click) on it so that it is in Edit mode. All the prims will be highlighted in blue except the root prim, which will be highlighted in yellow.
Find something that looks complicated enough to be made from more than one prim. Right-click (Cmd- click) on it and choose Edit. You should see each prim highlighted, with the root prim in yellow. Note: This is a wonderful way to see how objects have been made!
Step 7: Renaming and keeping your new Object
By default, any group of linked prims is called Object. As soon as you create and link something you think you’d like to keep, you should rename it with a descriptive name.
To rename an object, Right-click (Cmd-click) on it and choose the General tab from the Edit window. Double-click on Object in the Name field and type in your new name. You may also type a description in the Description field if you wish. Now, when you put your new creation into your Inventory, you’ll be able to find it much more easily.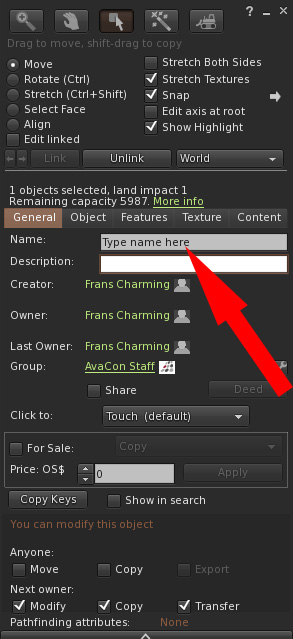
Rez three prims, and name each prim “Prim 1” “Prim 2” and “Prim 3” in the Edit > General > Name field. Then link the three prims together noting which prim you selected as the root prim and what name the linked object has when you are finished. Then Right-Click > Take to take the item into your inventory.
If you are using the PRIMLAND Tutorial game, stop here and continue on the path! That’s the end of the first section of this building tutorial!